Projects - CS4985 Project 2
Hotkeys via Arduino TouchScreen Shield
Using the Touchscreen Shield as an interface for popular games
- Download the zip folder (link provided below) and extract the contents
- The library you will need can be found here
- After installing the library, open up the provided .ino sketch in the folder you extracted to from step 1
- Compile the sketch, and upload to the Arduino with TFT Touchscreen Shield
- **Edit** You may change/edit the pictures, etc. to better suite your needs
- The program that is included in the zip folder (from step 1) is what allows the arduino to communicate with the computer. Simply choose the correct Port Number, (A list should be populated) and the BAUD Rate (for my example, choose 9600)
- Press start, the Arduino should restart, and a list of inputs should be populated withing the list
- Simply enter in the keyboard values you wish to emulate, and the computer does the rest
- To test yourself, simply place the cursor in the 'Test Input' box, and try to press a button on your touchscreen
- Thank you, and I hope this guide was helpful
Part 1: Getting the Touchscreen to work with the libraries
As estimated, the first part of this project took the most amount of time. The touchscreen was very picky to begin with, it had lots of quirks, and most of the time the arduino program did not like compiling my sketches. Later on, I finally figured out that the libraries had some simple file location issues, and that once everything was where it needed to be, the sketches would compile.
Part 2: Getting the Touchscreen to work with the examples
Afterwards, I attempted to get the Touchscreen example working. Touchscreen Example
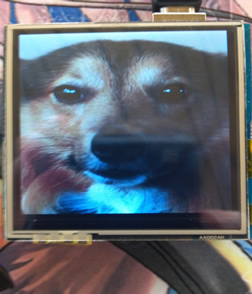
After I got the above example working, where the user can get input from the touchscreen, I tried to get the drawing example working. This example pulled an image from a bmp file on the SD card slot that the Touchscreen has. This took a little bit less time than the first part, but still some time. An example can be found here.
Part 3: Putting it all together
This part was where I had to build another program alltogether. This program I called the Serial Communication v1. This program is available via the downloads page, or right here.
The above program listens on the user chosen COM port, and BAUD rate. Once the program receives a certain command from the serial port, the list of available inputs is updated. The user may then manually input the chosen keyboard conversion that they wish to use in correspondance with the input. Once done, the user may test the input by pressing a button on the touchscreen and seeing if input is correctly placed in the text box (the textbox must first be chosen).
Once I implemented this program, everything fell into place. The final project can be found here
Disclaimer:
THIS WEBSITE IS NOT A PUBLICATION OF THE UNIVERSITY OF WEST GEORGIA AND
THE UNIVERSITY OF WEST GEORGIA HAS NOT EDITED OR EXAMINED THE CONTENT. THE AUTHOR(S) OF THE
WEBSITE ARE SOLELY RESPONSIBLE FOR THE CONTENT.


